
 Quick start
The software described herein is deprecated and is no longer updated. We recommend using CKEditor 5 with collaboration features instead.
Visit the collaboration samples repository for practical solutions. Also, visit the Online builder if you would rather prepare a custom CKEditor 5 build with collaboration enabled.
The aim of this article is to get you up and running with Letters.
Follow the steps below:
- Subscribe to Letters on the CKEditor website.
- Generate your access credentials in the CKEditor Ecosystem customer dashboard.
- Write a script that generates one-time tokens for authorizing end users of your application in CKEditor Cloud Services (using access credentials created earlier).
- Download and configure Letters.
All steps are explained in details below.
# Subscribe to Letters
Sign up to Letters. After signing up, you will receive access to the customer dashboard (CKEditor Ecosystem dashboard).
# Log in to the CKEditor Ecosystem dashboard
Log in to the CKEditor Ecosystem customer dashboard and navigate to “Your products > Letters”.
From the list of available subscriptions in the dashboard choose the subscription that you want to manage and press the “Manage” link.
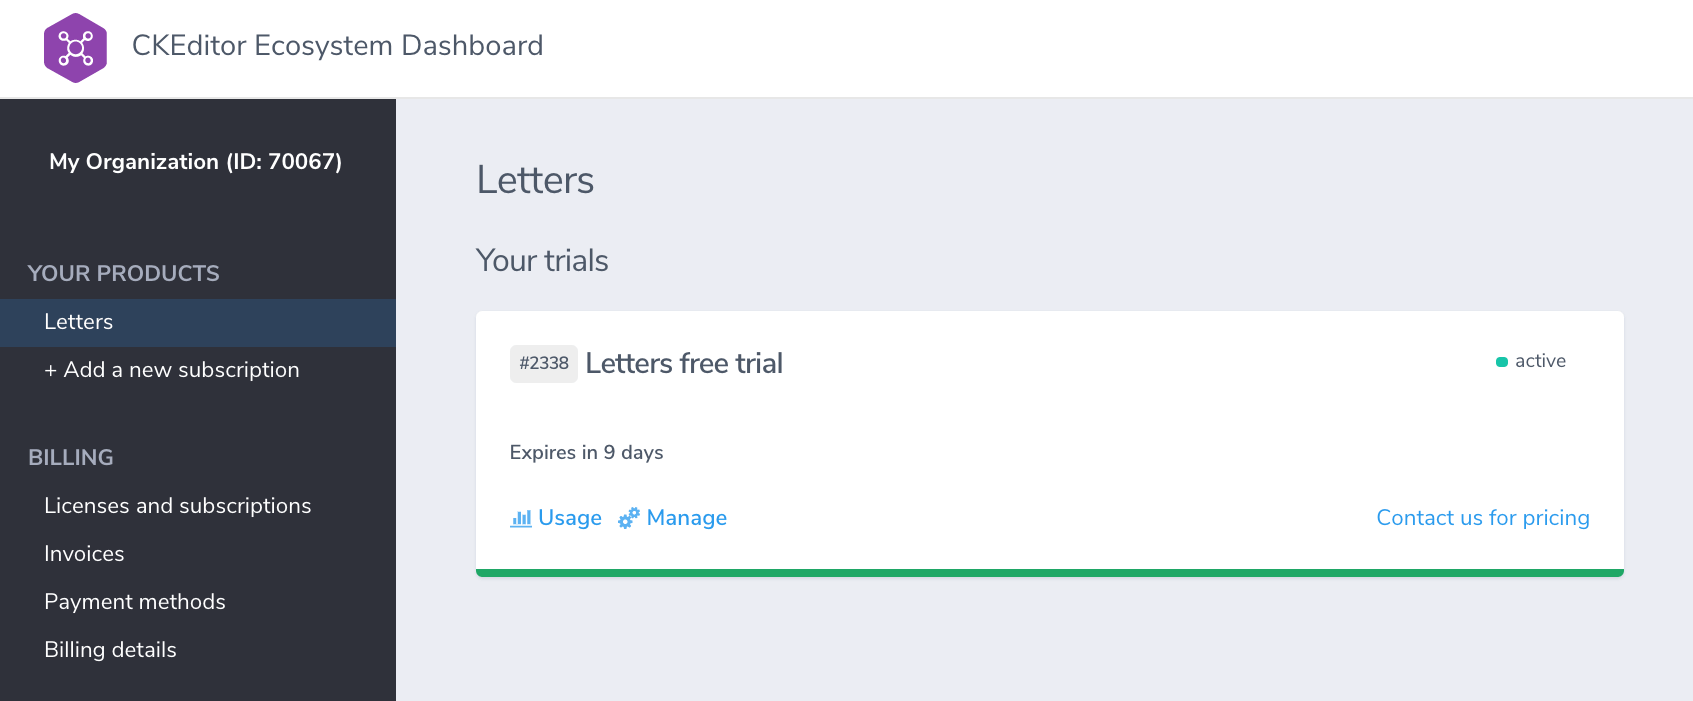
On the next page you will see the subscription parameters overview together with the management area below.
# Create token endpoint
You now need to create a security token endpoint in your application. The role of this endpoint is to securely authorize end users of your application to use CKEditor Cloud Services only if they should have access to the content or an action they are requesting.
# Development token endpoint
If you are just starting, you may use the development token endpoint URL which is available out of the box and requires no coding on your side. The URL of the development token endpoint can be obtained easily in two simple steps:
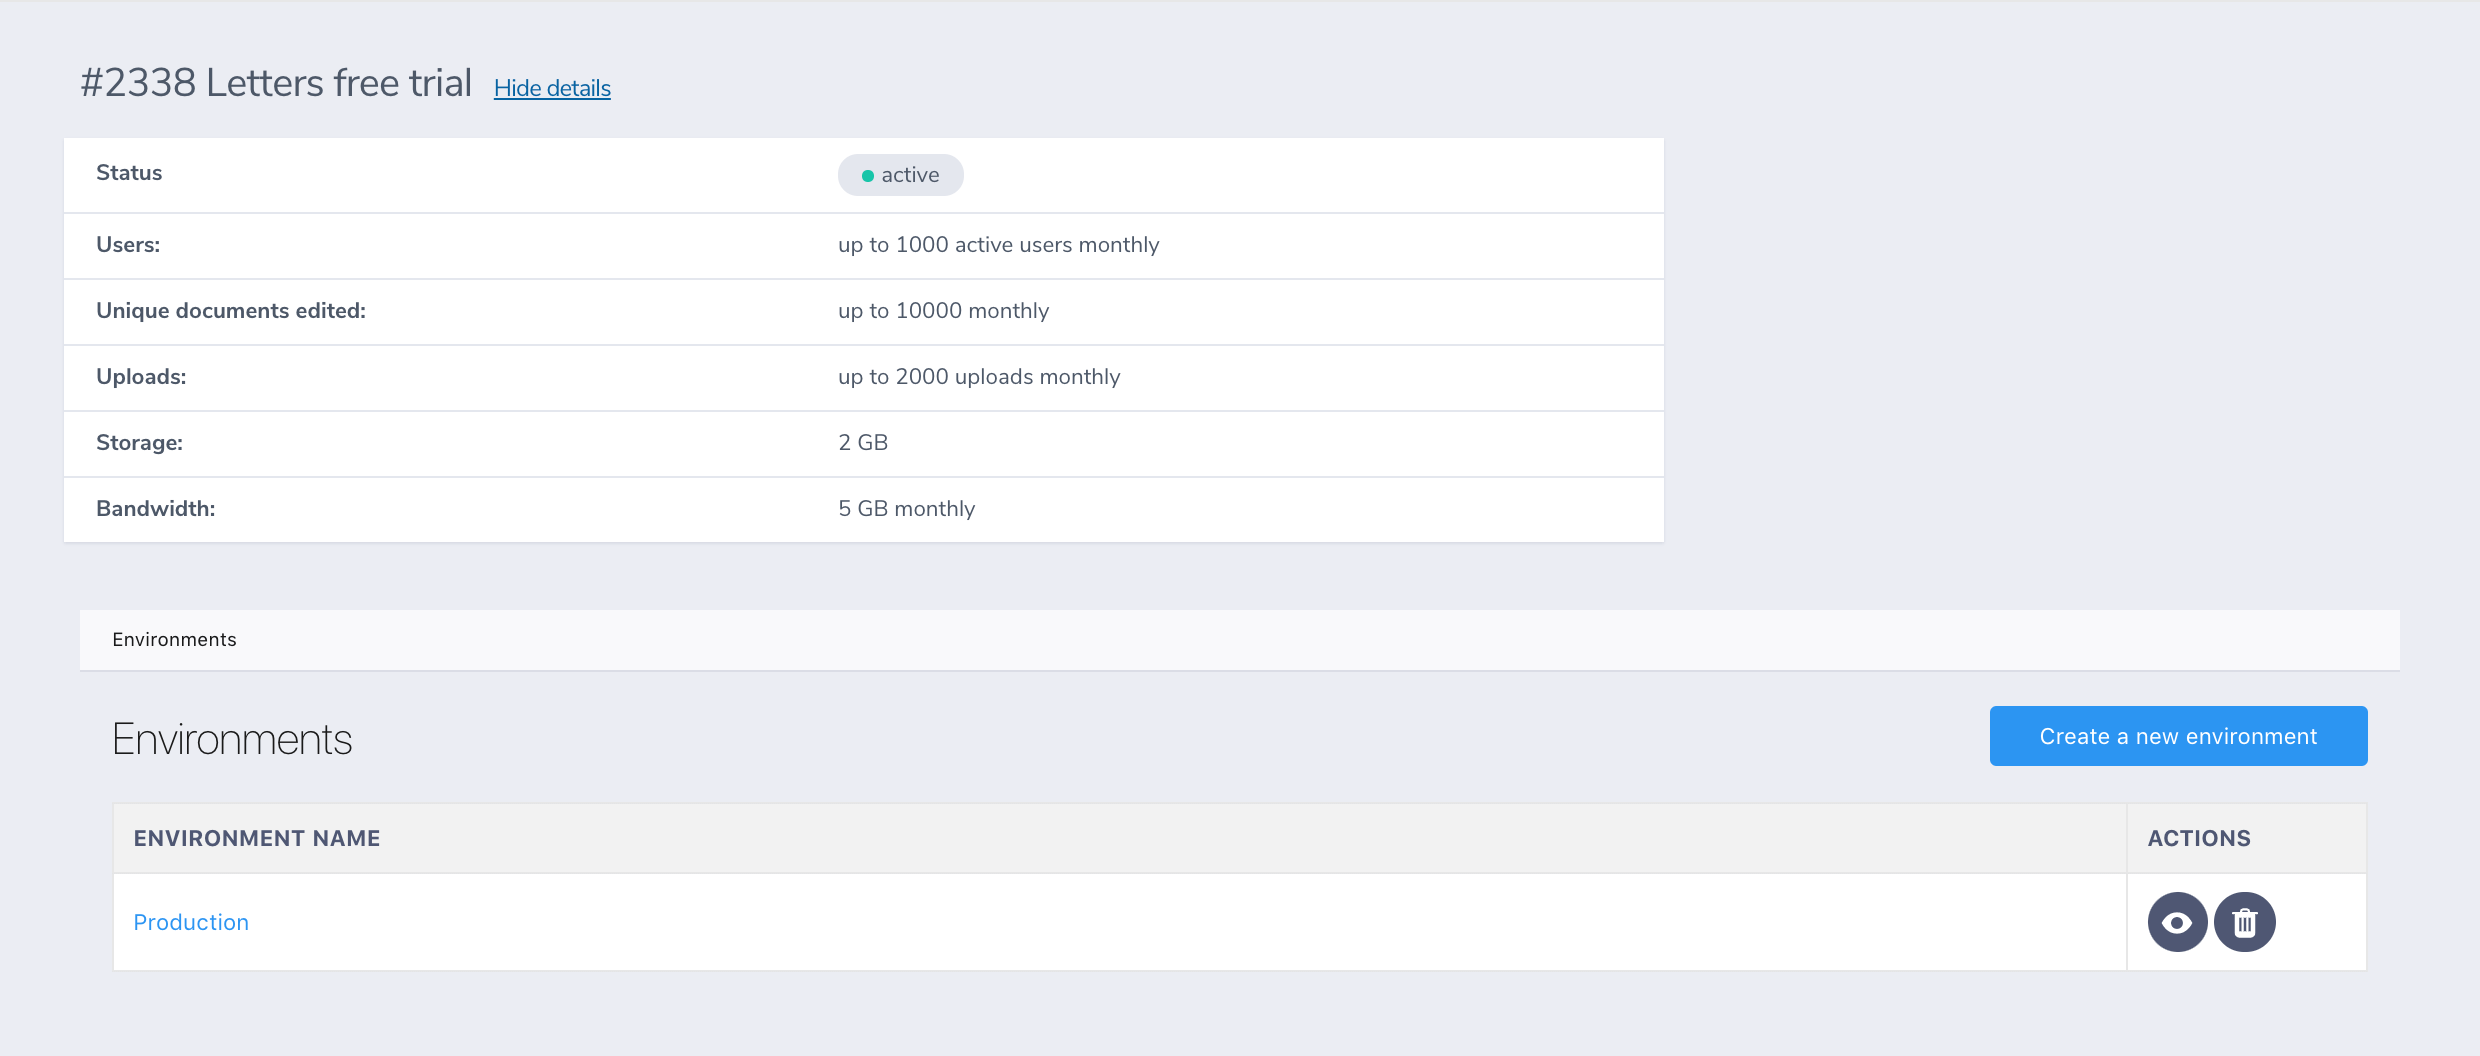
- From the list the environments choose the one that you want to manage:
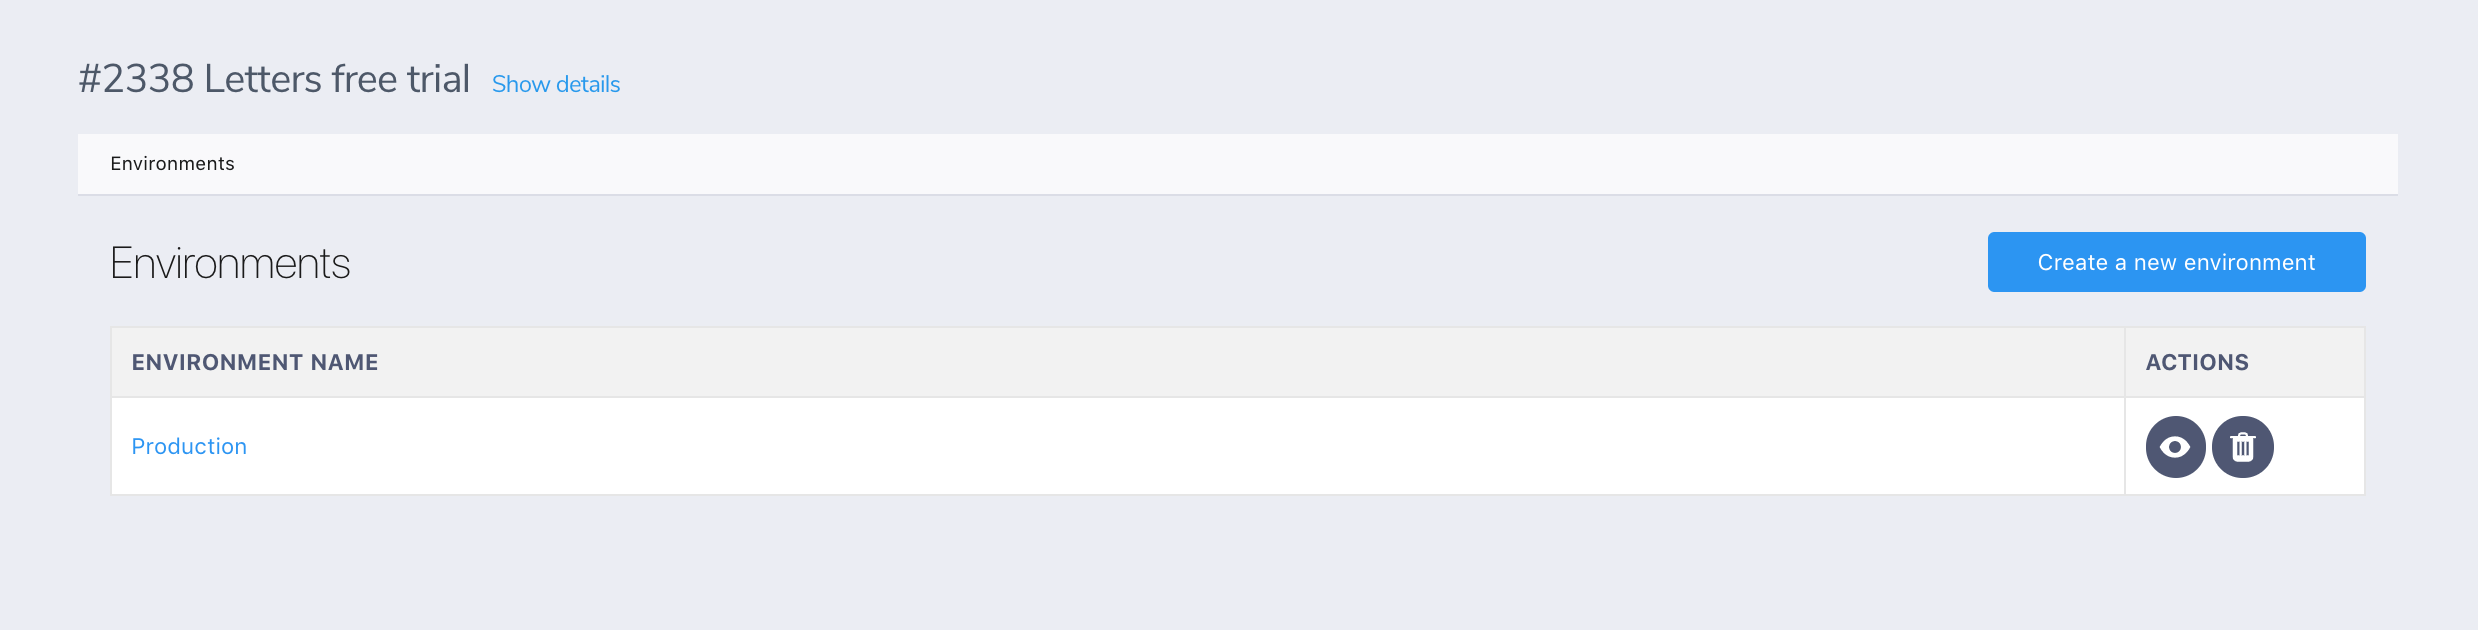
- Press the “Generate” button in the “Development token URL” section of the “CKEditor 5 configuration” tab:
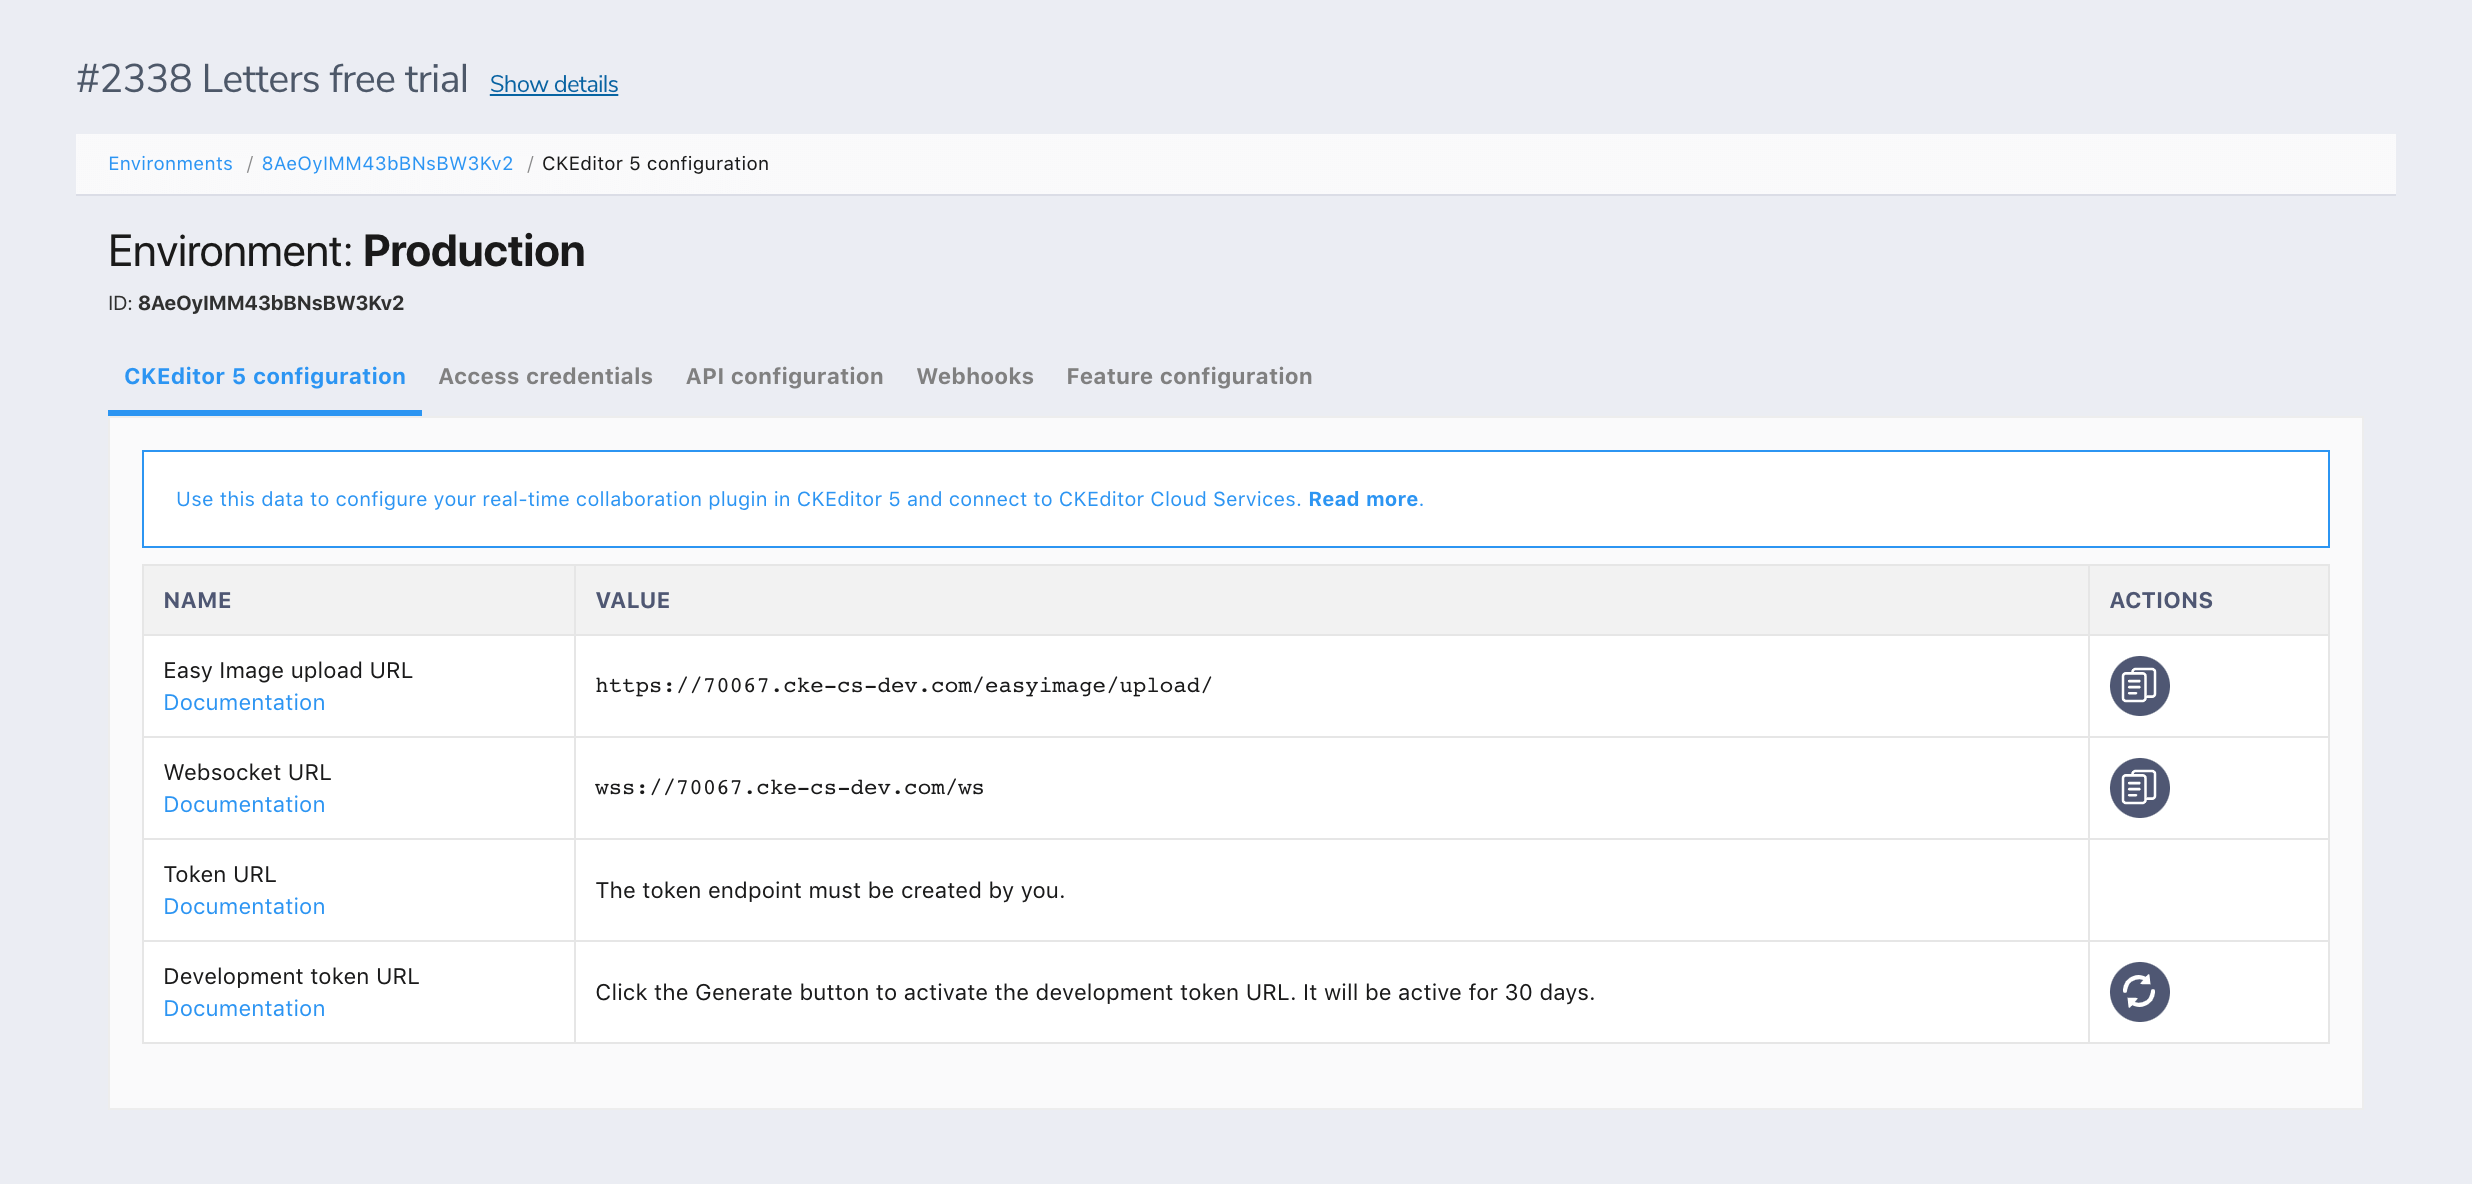
The development token URL will show up in the section:
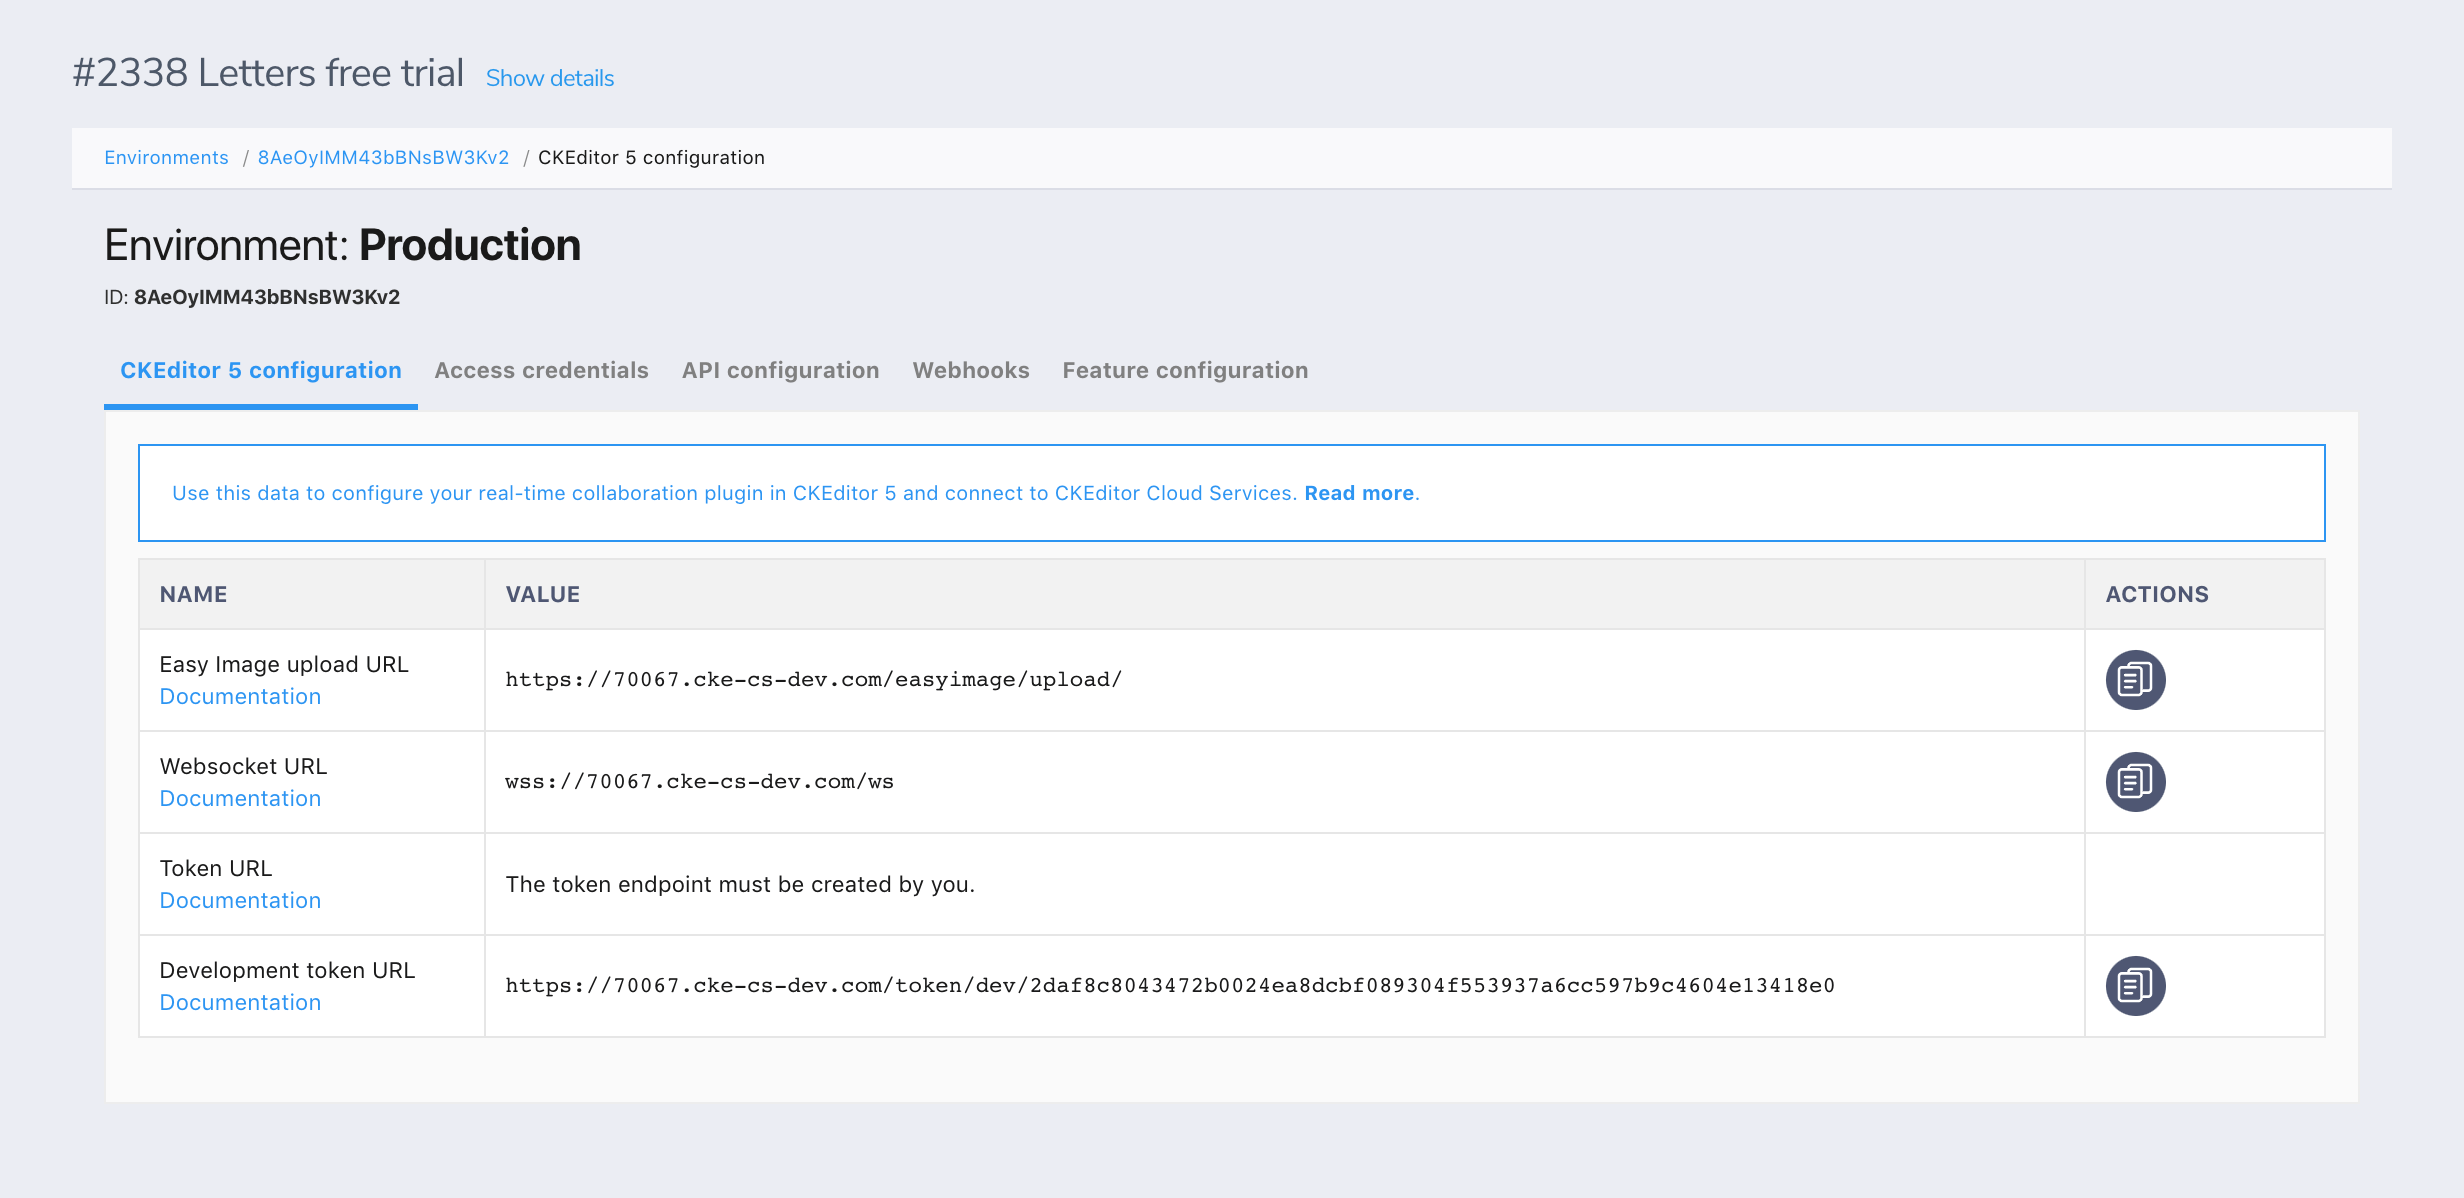
The development token endpoint is a special endpoint to help you in getting started with CKEditor Cloud Services. It offers unrestricted, full access to the service and will expire 30 days after being used for the first time. You should not use it on production. Anyone knowing this URL will have full access to the associated environment.
# Simulating random users
The development token URL will generate random user names by default. If you would like to specify user details, you may pass them in the query string using:
user.name– Full name.user.id– The unique ID of the user in your system.user.email(Optional) – Email address.user.avatar(Optional) – The URL to an avatar.
So if your token URL is https://16344.cke-cs.com/token/dev/XXX, you may connect to CKEditor Cloud Services as user Jane Doe with the ID 13 using the customized development token URL: https://16344.cke-cs.com/token/dev/XXX?user.name=Jane%20Doe&user.id=13
# Writing your own token endpoint
Skip this step if you use the development token endpoint.
To write your own security token endpoint, you need to create access credentials for the selected environment by going to the “Access credentials” tab and clicking the “Create a new access key” button.
Read more in the Creating access credentials section of the Environments management guide.
# Download and configure Letters
Include letters.js in your page:
<script src="https://cdn.ckeditor.com/letters/36.0.1/letters.js">
A very basic Letters initialization code looks like this:
<!DOCTYPE html>
<html lang="en">
    <head>
        <meta charset="utf-8">
        <title>Letters</title>
        <script src="https://cdn.ckeditor.com/letters/36.0.1/letters.js"></script>
    </head>
    <body style="margin:0">
        <div id="letters"></div>
        <script>
        Letters.create( document.querySelector( '#letters' ), {
            cloudServices: {
                // PROVIDE CORRECT VALUES HERE:
                tokenUrl: 'https://example.com/cs-token-endpoint',
                uploadUrl: 'https://your-organization-id.cke-cs.com/easyimage/upload/',
                webSocketUrl: 'your-organization-id.cke-cs.com/ws/'
            },
            collaboration: {
                channelId: 'intro'
            },
            title: 'Welcome to Letters',
            body: '<p>Distraction-free writing and real-time collaborative editing made for you.</p>'
        } )
        .then( letters => {
            console.log( letters.getTitle() );
            console.log( letters.getBody() );
        } );
        </script>
    </body>
</html>
Note: Every customer (organization in the CKEditor Ecosystem customer dashboard) has their own, unique URLs to communicate with CKEditor Cloud Services, so it is necessary to configure the upload URL (uploadUrl) and websocket gateway URL (webSocketUrl). Both values can be found in the CKEditor Ecosystem dashboard (press the “Letters configuration” button next to the selected environment).
This is it. After the initialization Letters is ready to work with all features provided by CKEditor Cloud Services, including real-time collaborative editing, comments and Easy Image upload.
Because the connection needs to be established to create Letters, it may take a noticeable moment to create the instance. However, Letters can also be created in a hidden element, in advance, and shown when needed.
# The Letters.create( element, options ) method
The Letters.create() function is the main method used to initialize Letters in your application.
# The element parameter
The first parameter of the Letters.create() function is the HTML element in which Letters should be rendered. This example uses the <body> element (document.body) to render Letters on the whole page, however, Letters can be launched in any other HTML element, e.g. in a <div> element.
# The options parameter
The second parameter is the object with configuration options. You can provide the following:
cloudServices– The CKEditor Cloud Services configuration.title– The initial title of the document (optional).body– The initial content of the document (optional).
# The cloudServices option
The cloudServices option includes several properties:
tokenUrl– This property should point to a gateway that grants tokens to authenticated users. More information can be found in the CKEditor Cloud Services documentation.
To help you get up and running with Letters in your application easily during the development phase, you can point Letters to a development token gateway URL, which is available in your customer dashboard.
-
uploadUrl– The URL to which the files should be uploaded. Every customer (organization in the CKEditor Ecosystem dashboard) has their own, unique URLs to communicate with CKEditor Cloud Services. The URL can be found in the CKEditor Ecosystem dashboard. -
webSocketUrl– The URL for the web socket communication. Every customer (organization in the CKEditor Ecosystem dashboard) has their own, unique URLs to communicate with CKEditor Cloud Services. The URL can be found in the CKEditor Ecosystem dashboard.
# The collaboration option
In collaboration configuration you need to provide one property:
channelId– All Letters instances created with the same channel ID will collaborate. It means that each document needs a unique channel ID if you do not want to start collaboration between these documents. The ID is usually a primary key of the document in the database, but you are free to provide whatever identifier fits your scenario.
# The title and body options
Both title and body are needed to create the initial content when the first user starts the collaboration session. These parameters might be omitted if you want to start with an empty document. If set, they are used only when the first user is connected to the document. Other users who join collaboration get the title and body from the CKEditor Cloud Services server and use it instead of these initial values.
Note that because of this, there are no setTitle() and setBody() methods in Letters. Initial data must be provided when the instance is created.
# Next steps
Check the Integration article to learn more about using Letters, for example how to open Letters in a dialog window or how to implement the autosave feature.
Complementary to this guide, we provide ready-to-use samples available for download. You may use the samples as an example or as a starting point for your own integration.